Configure a Basic WLAN on the WLC
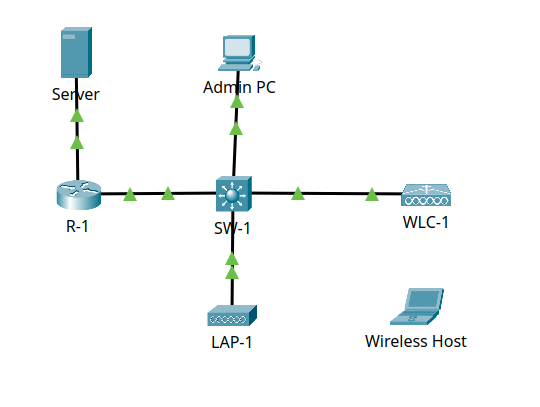
In this lab I will learn some of the features of a wireless LAN controller. I will create a new WLAN on the controller and implement security on that LAN. Then, I will configure a wireless host to connect to the new WLAN through an AP that is under the control of the WLC.
Topology
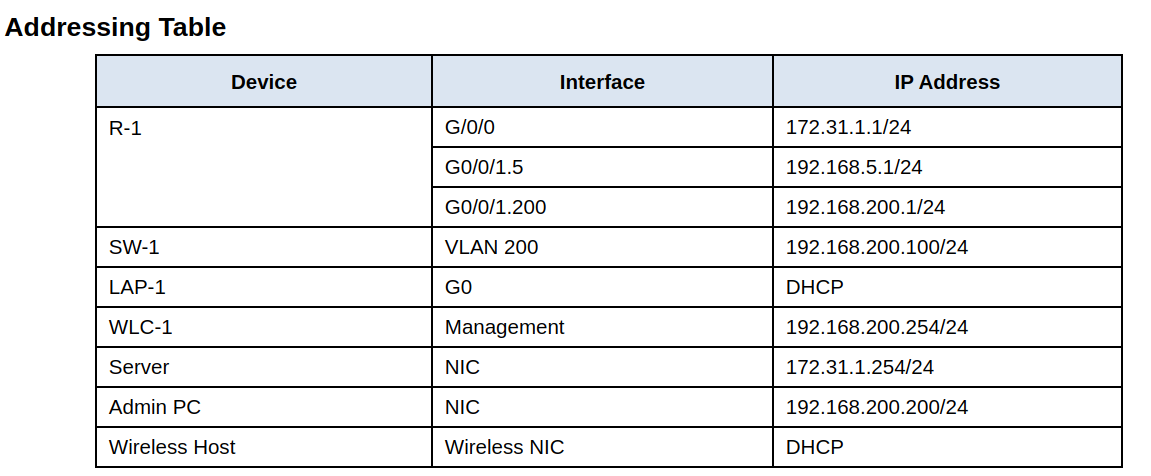
Steps:
1. Access the WLCs management via HTTPS
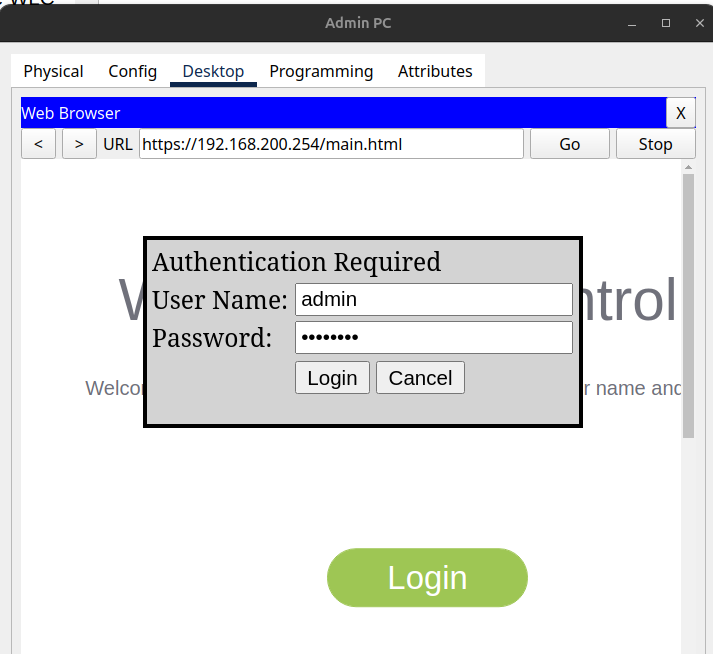
First I open the web browser in the Admin PC. I enter the management IP address of WLC-1 specifiying the https protocol. (For security reasons, the WLC interface only supports secure http sessions). I log in.
Once logged in I see the WLC Monitor Summary screen 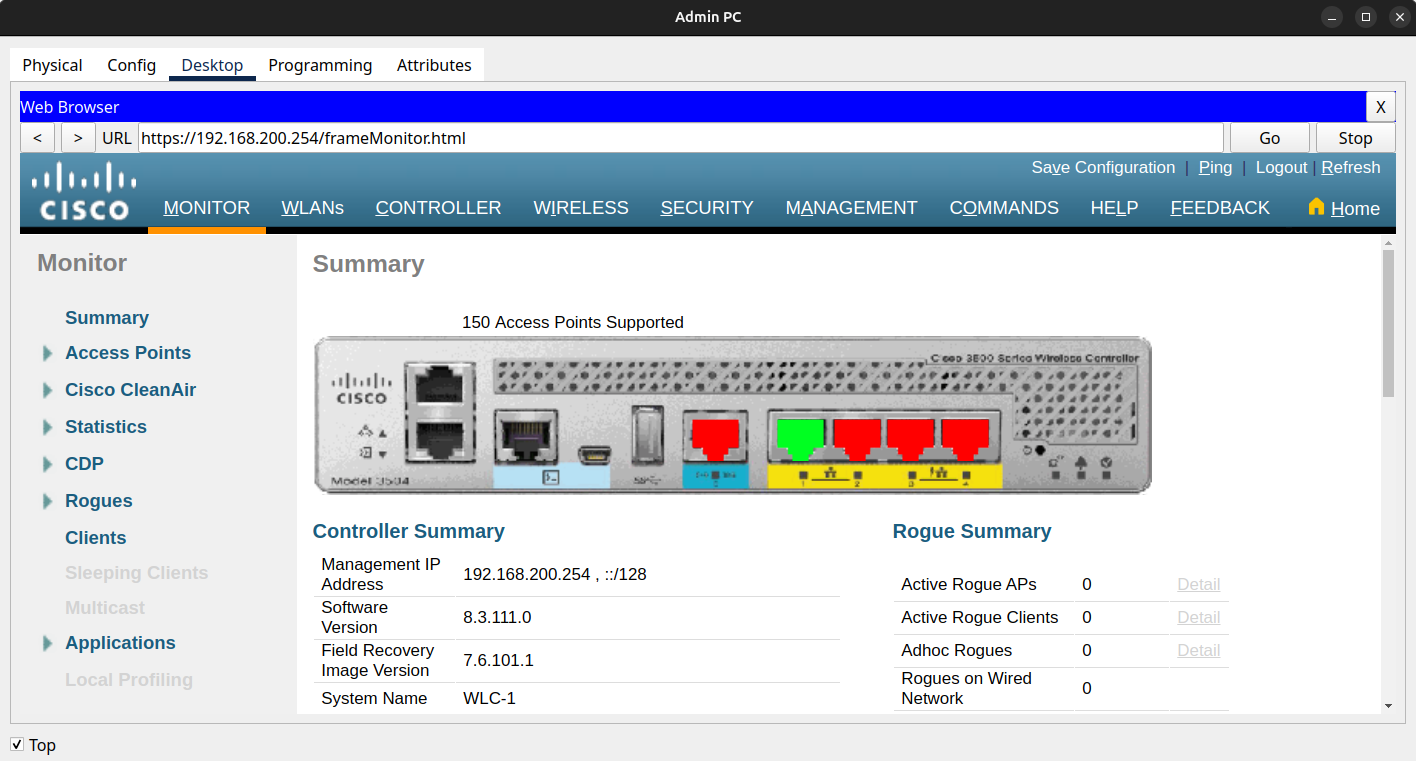 From this screen I can see overall WLC status. For example, number of APs joined, number of clients (devices connected to the wireless network through the APs), WLANs enabled, etc. At this point to me is important to see if an AP is joined to the WLC, otherwise no wireless clients can connect.
I can see that one AP is connected to the WLC and it is operational (All APs -> 1, state Up). Also until this points this wireless network has no clients. 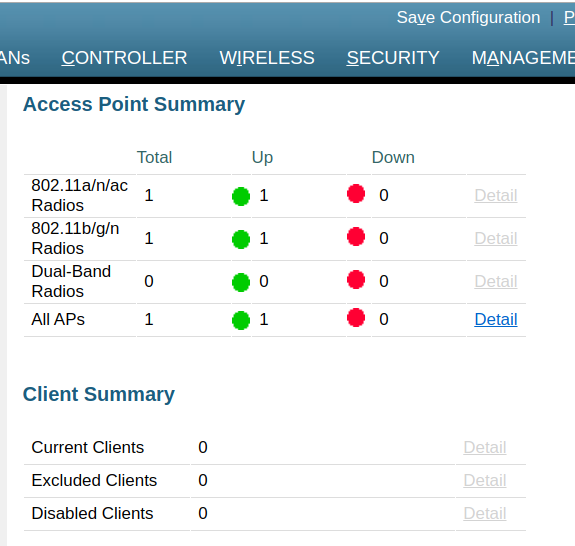
Clicking on “Detail” next to the All APs entry I find more information about the APs connected to this WLC.
2. Creating a new WLAN on the WLC.
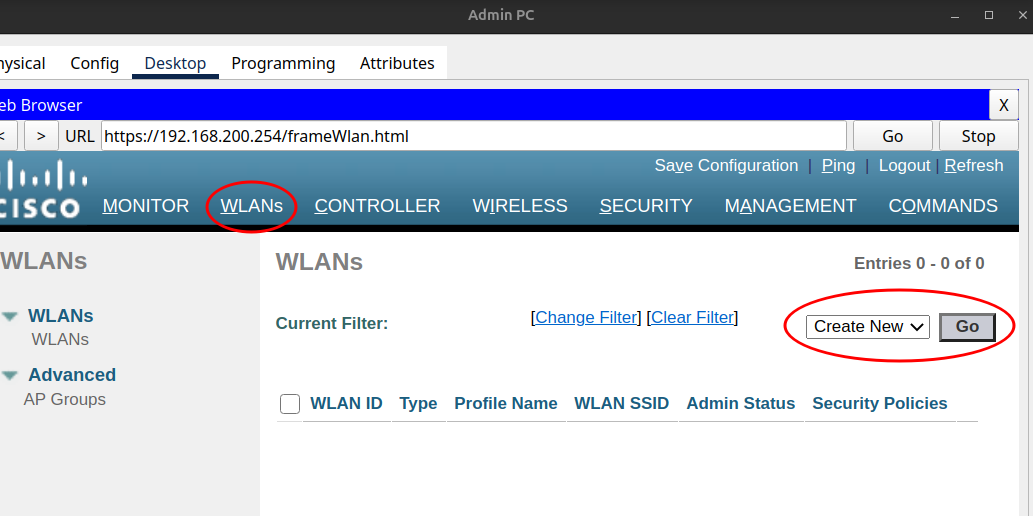
Under the WLANs menu I choose the option Create New.
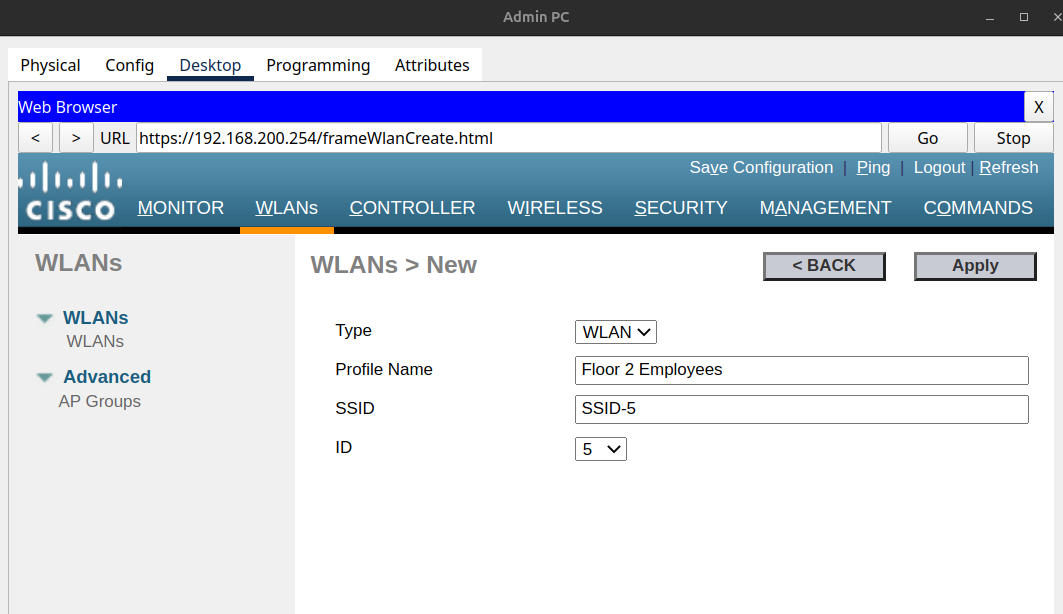
Now I have to assign a Profile Name, SSID and ID to the WLAN. -> Profile name to identify this WLAN on the WLC GUI. (admin friendly label) -> SSID that the users will see when connecting their devices. -> ID as an internal identifier the WLC uses to track the WLAN. (System label, appears in logs, messages) I click on Apply so the settings go into effect.
Now the WLAN has been created. In order to make the WLAN functional I click on Enabled. Choosing the interface is important because thats the way to tell the WLC which VLAN/subnet to use for client traffic. In this case I use the previously configured WLAN-5 interface.
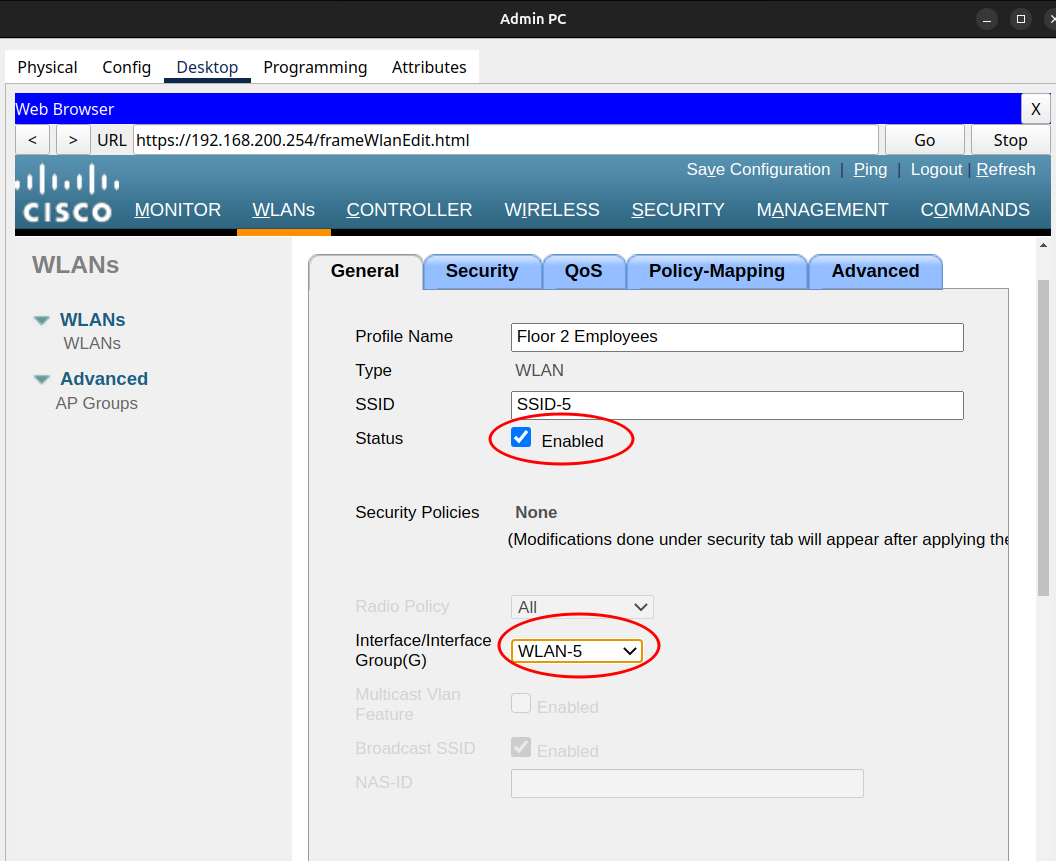
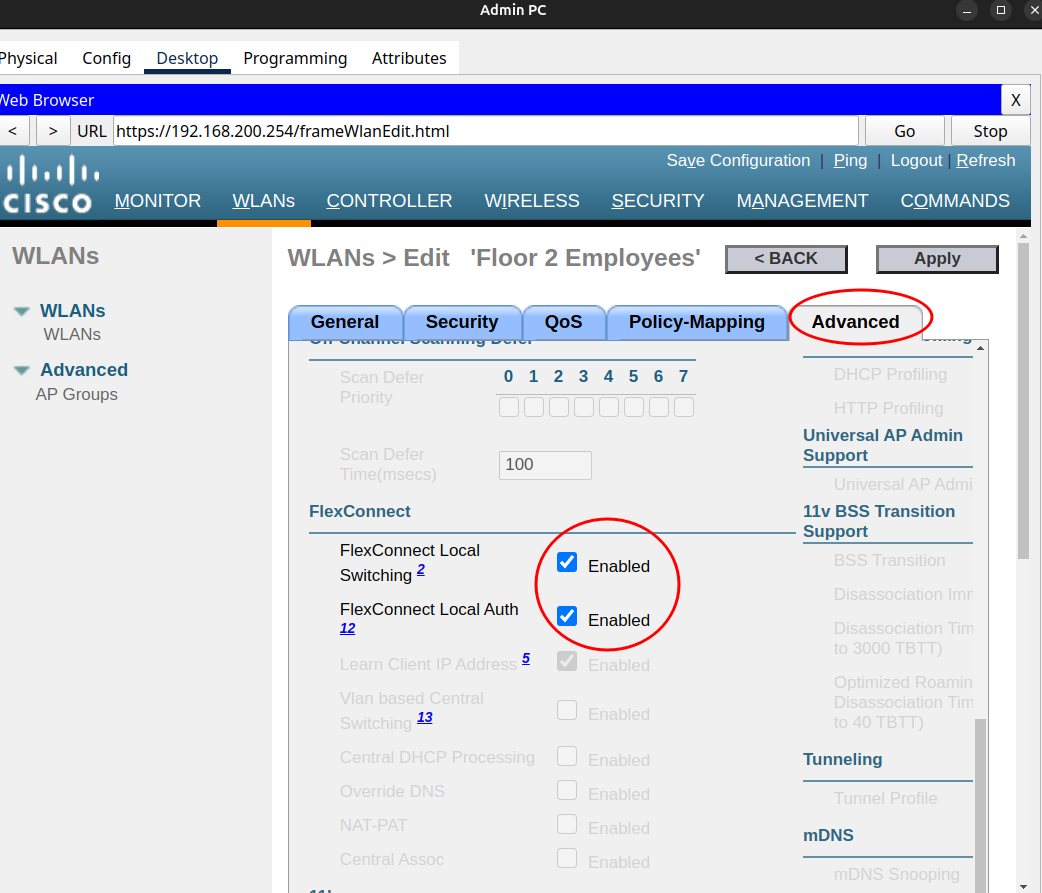
In the Advanced tab I Enable FlexConnect Local Switching and FlexConnect Local Auth options. FlexConnect Local Switching -> so the AP sends client traffic directly to the local VLAN instead of tunneling it back to the WLC. FlexConnect Local Auth -> so that the AP authenticates wireless clients locally, so authentication can happen even if the connection to the WLC is lost.
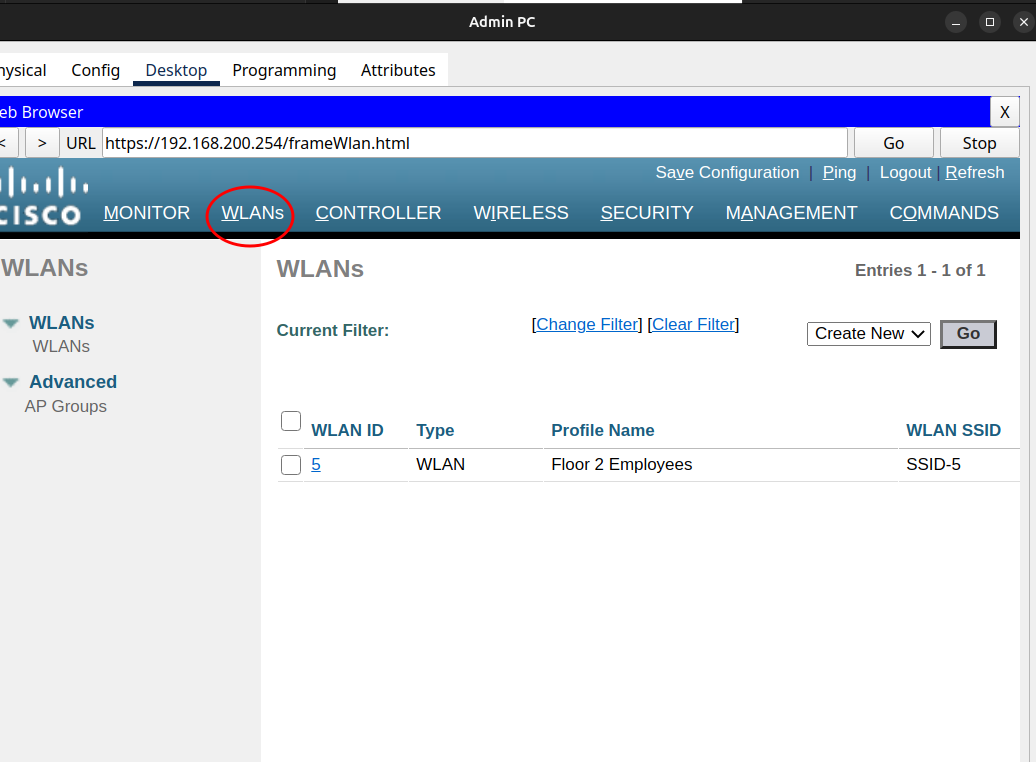
Under the WLANs tab I can confirm that the WLAN Floor 2 Employees has been successfully created.
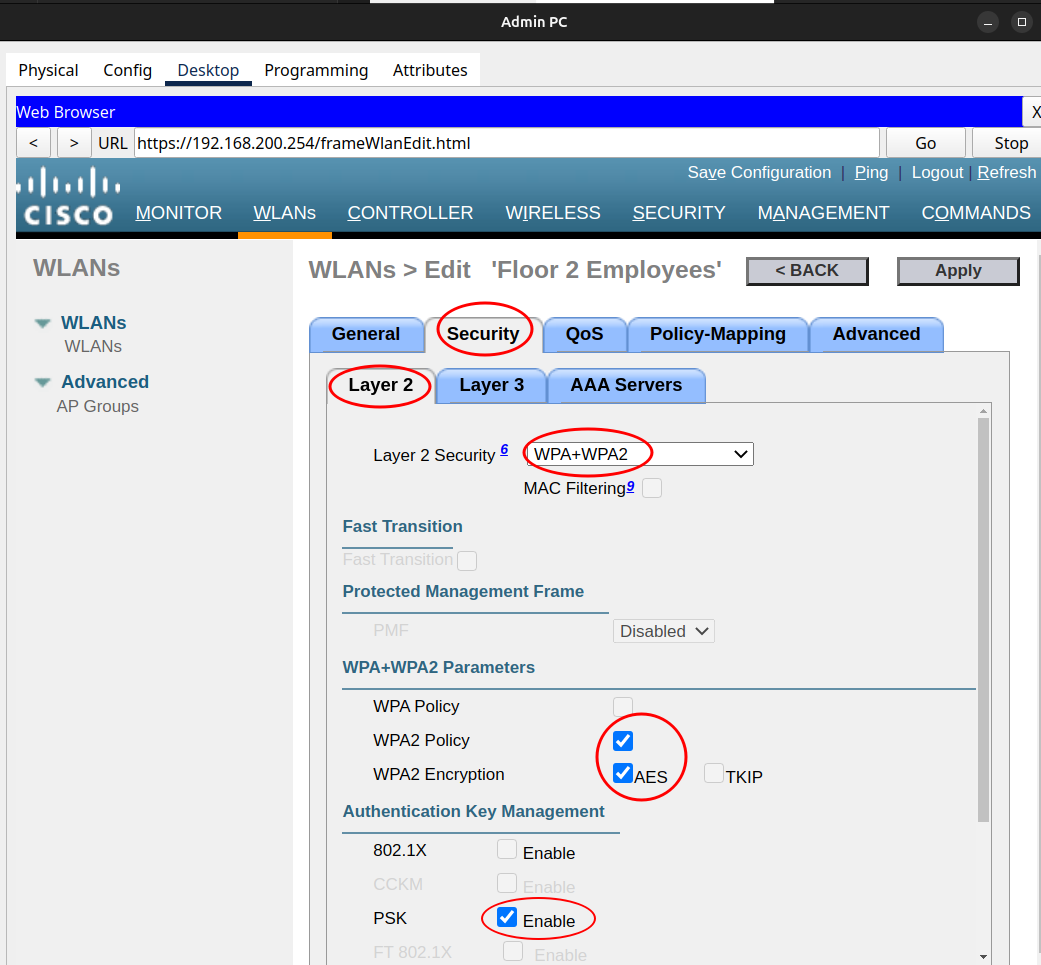
Now it is time to secure the WLAN configuring it to use WPA2-PSK. Note: WPA2-PSK does not scale well and is not appropiate to use in a enterprise network, in next post I will configure the WLAN to use a RADIUS serer and WPA2-Enterprise for authentication. In the WLANs Edit screen > Security tab > Layer 2 I select WPA+WPA2 Protocols in order to secure the WLAN, otherwise it would be open to anyone. I enable also PSK, which is a simple method for small deployments, that asks clients for a key in order to connect. I set the key in this example as Cisco123 (In real deployments would be a longer, more complicated password) I apply the changes.

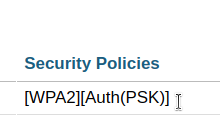
I verify that the Security Policies for this WLAN have been updated.
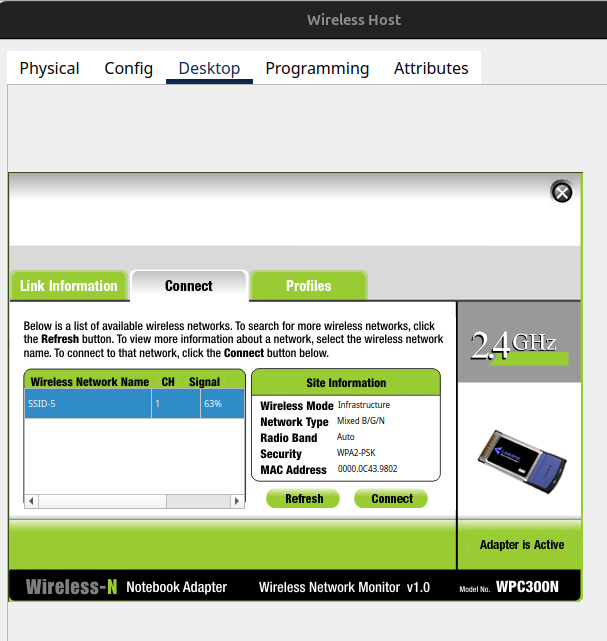
3. Connect to the network through a wireless host.
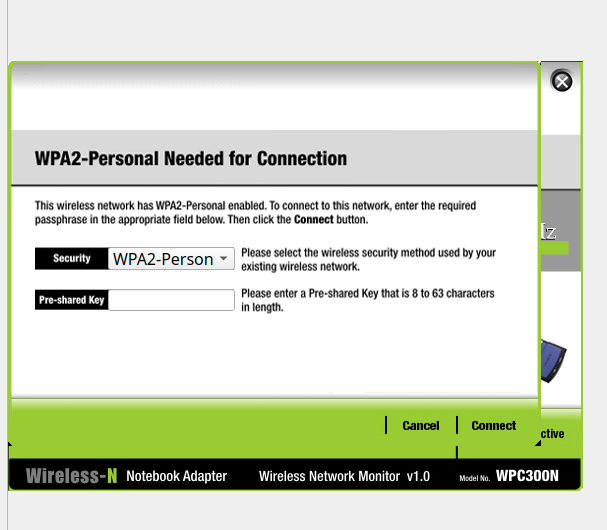
I access the Pre-shared key previously configured (Cisco123)
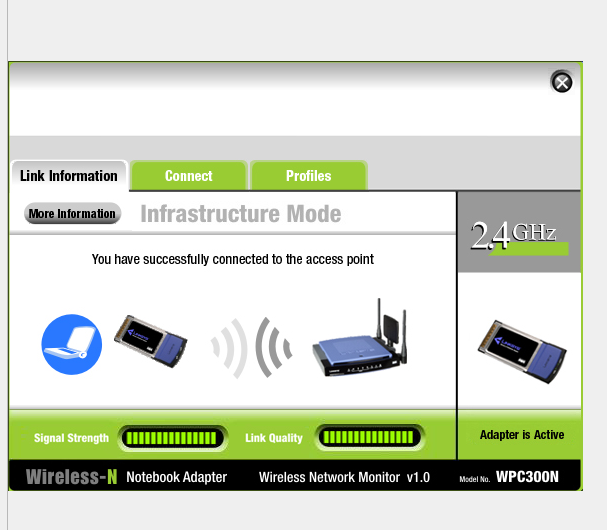
The connection with the AP has been successfull.
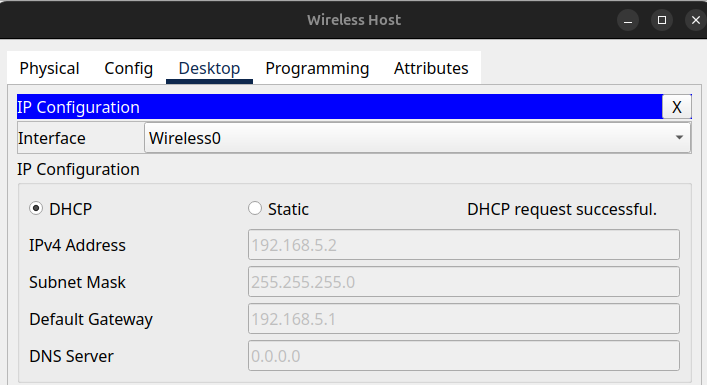
This hosts asks and receives a IP over DHCP succesfully.
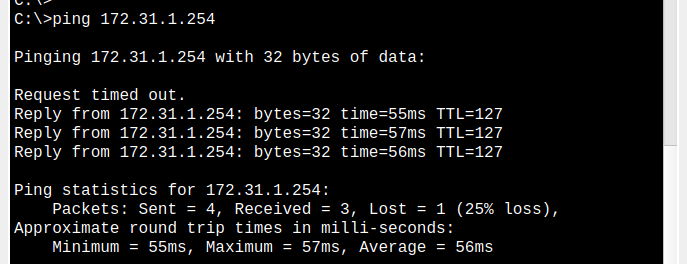
To verify full connectivity and as last step in this lab I ping the server from this host.